Common Window Installation Mistakes: A Building Science Guide
The installation of a window is a deceptively complex structural intervention that occurs at the most vulnerable point of the building envelope: the puncture. While a window unit itself may be engineered to withstand hurricane-force winds or achieve remarkable thermal resistance, its performance is entirely contingent upon its integration with the surrounding wall assembly. Common Window Installation Mistakes. In the hierarchy of building failures, the window-to-wall interface is a primary site for moisture intrusion, air leakage, and premature material degradation.
Approaching this task requires an understanding of hydrothermal physics that transcends simple carpentry. We are dealing with the management of bulk water, the control of air pressures, and the mitigation of vapor diffusion. When these forces are misunderstood, the result is a systemic failure that often remains invisible until structural rot has compromised the integrity of the framing. The margin for error has narrowed significantly as modern homes have become more airtight, leaving less room for the “drying potential” that once compensated for minor flaws in craftsmanship.
This definitive examination seeks to deconstruct the technical and conceptual errors that plague both residential and commercial fenestration projects. By moving beyond a simple list of “dos and don’ts,” we will explore the systemic reasons why certain errors persist across the industry and how a more rigorous, building-science-based approach can prevent the catastrophic second-order effects of poor installation.
Understanding “common window installation mistakes”
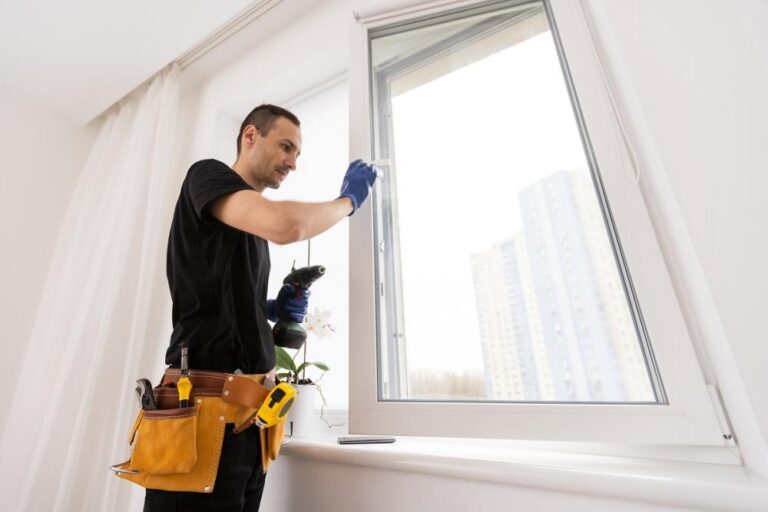
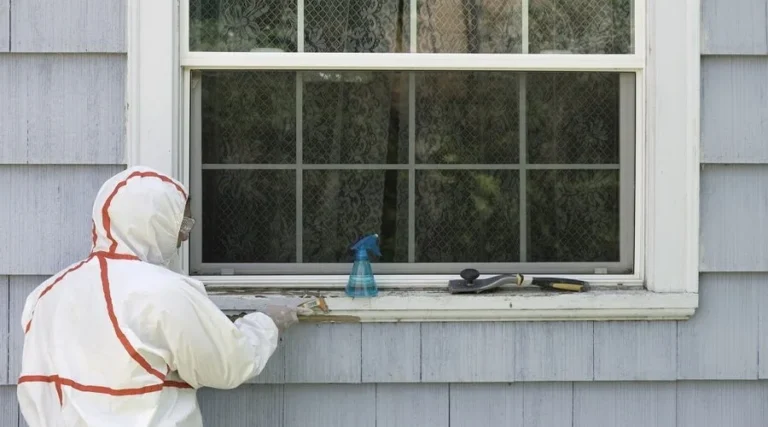
To categorize common window installation mistakes, one must look past the superficial aesthetic of a level and plumb window. A unit can appear perfectly straight to the eye while being fundamentally flawed in its management of gravity and pressure. The most pervasive misunderstanding in the field is the belief that “caulk is a flashing.” Relying on a bead of sealant as the primary defense against water is a critical error; caulk is a sacrificial joint that inevitably fails due to UV exposure and thermal movement.
Oversimplification often occurs during the selection of installation methods. For instance, the “pocket” or “insert” installation is frequently marketed as a universal cost-saver. However, using this method when the original wood frame shows signs of fungal decay is a foundational mistake. You are effectively sealing a new, airtight unit into a rotting substrate, which accelerates the decay by trapping moisture that previously had a path for evaporation.
Another perspective involves the “shimming” process. A common error is the failure to shim directly under the setting blocks of the Insulated Glass Unit (IGU). If the frame is supported but the glass weight is not properly transferred to the rough opening, the frame will bow over time. This leads to mechanical stress on the seals, eventually causing the argon gas to escape and the window to fog—a hardware failure triggered entirely by an installation oversight.
Contextual Evolution: Why Failures Occur More Frequently Today
In the early 20th century, windows were installed in “vapor-open” buildings. These structures were drafty enough that if a window leaked slightly, the surrounding wood could dry out before rot set in. Today, we build “tight.” We use advanced weather-resistive barriers (WRB), spray foam insulation, and airtight gaskets. While this improves energy efficiency, it reduces the building’s ability to “forgive” moisture.
The systemic evolution toward high-performance materials like fiberglass and vinyl has also introduced new challenges. These materials have different thermal expansion coefficients than the wood framing they are attached to. An installer who uses rigid fasteners without allowing for the “growth” of a vinyl frame in the summer heat is inviting the unit to warp or rack. The history of window installation is essentially a move from “carpentry” toward “envelope engineering.”
Conceptual Frameworks for Defect-Free Installation
To avoid systemic errors, professionals utilize several mental models to judge the integrity of an opening.
1. The “Water-Shedding Shingle” Model
Every layer of the window installation must lap over the layer below it. The top flashing (head flashing) must be tucked under the house wrap, and the side flashings must lap over the sill flashing. Failure to follow this “shingle fashion” logic is the most frequent cause of catastrophic wall rot.
2. The Drainage Plane Continuity Framework
This framework posits that water will eventually get behind the siding. The window installation must provide a clear, gravity-fed path for this water to exit the building without touching the structural sheathing. This requires a sloped sill pan—a component frequently omitted in low-budget installations.
3. The Thermal Bridge Mitigation Model
A window is a hole in the insulation. A conceptual mistake is focusing solely on the U-factor of the glass while ignoring the “rough opening gap.” If this gap is not filled with low-expansion, closed-cell foam or a high-density backer rod and sealant, the perimeter of the window becomes a highway for heat loss and condensation.
Taxonomy of Installation Errors: Categories and Trade-offs
Errors can be broadly categorized by their impact on the building’s various protective layers.
| Error Category | Specific Mistake | Primary Consequence | Difficulty to Repair |
| Flashing | Reverse-lapping house wrap | Bulk water intrusion; rot | High (Siding removal) |
| Structural | Missing shims at hardware | Frame racking; locking failure | Moderate |
| Thermal | Over-tightening fasteners | Frame warping; seal failure | Moderate |
| Acoustic | Using fiberglass batts in gaps | Noise leakage; air bypass | Low |
| Drainage | Clogged or missing weep holes | Internal frame saturation | High |
Decision Logic: Avoiding the “Short-Cut” Trap
The trade-off in window installation is almost always “time vs. longevity.” Removing the exterior siding to properly integrate the window flange with the WRB takes more time than a simple “caulk-and-walk” insert. However, the decision logic must prioritize the Control of Liquid Water above all else. If water management is compromised, thermal and aesthetic benefits become irrelevant.
Real-World Failure Scenarios and Second-Order Effects Common Window Installation Mistakes
Scenario 1: The “Reverse-Lap” in a Coastal Climate
An installer places the head flashing over the house wrap instead of under it.
-
The Error: Water running down the house wrap is directed behind the window frame.
-
Second-Order Effect: Because the home is coastal and airtight, the moisture cannot dry. Within three years, the structural header above the window rots, leading to sagging floors in the room above.
Scenario 2: The “Over-Foamed” Vinyl Frame
To ensure a tight seal, an installer uses high-expansion “window and door” foam in a large gap.
-
The Error: The pressure of the foam bows the vinyl jambs inward.
-
Failure Mode: The window sashes no longer meet the weatherstripping. The energy-efficient window now leaks more air than the 40-year-old unit it replaced.
Economics of Error: Direct Costs vs. Long-Term Liability
The financial impact of common window installation mistakes is rarely captured in the initial quote. A “budget” installer may save a homeowner $2,000 on a whole-house project by skipping sill pans and using interior-grade caulk on the exterior.
Estimated Cost Comparison over 20 Years
| Cost Driver | Precision Installation | Sub-Standard Installation |
| Initial Labor/Materials | $12,000 | $9,500 |
| Energy Loss (20yr) | $4,000 | $6,500 |
| Repair/Remediation | $0 | $15,000 (Rot/Mold) |
| Total Cost of Ownership | $16,000 | $31,000 |
Opportunity Cost: The real cost of a mistake is the “loss of performance.” If you pay for a Triple-Pane window but the installation allows air to bypass the frame, you are paying for performance you are not receiving—a 100% loss on the “premium” portion of your investment.
Tools, Strategies, and Mitigation Systems
To ensure a failure-free installation, specific tools and strategies must be employed:
-
Sill Pan Flashing (Rigid or Flexible): Creating a “bathtub” at the bottom of the opening to catch and eject leaks.
-
Low-Expansion Foam: Specifically formulated not to distort window frames.
-
Pressure-Equalized Rainscreens: Ensuring that the air pressure behind the siding is the same as the exterior, which prevents water from being “sucked” into the building.
-
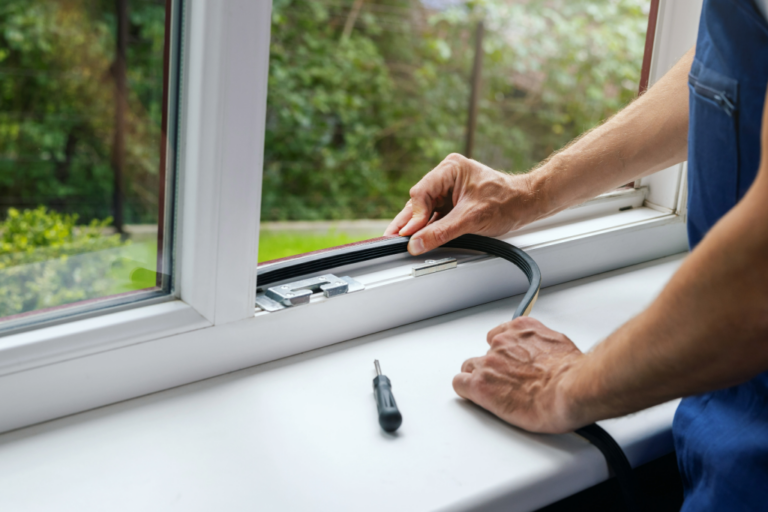
Backer Rod and Sealant: The “two-stage” seal method that is far superior to caulk alone.
-
Laser Levels: Critical for ensuring that the “square” of the window remains true, allowing multi-point locks to engage correctly.
-
Self-Adhering Membranes (Flashing Tape): Must be compatible with the house wrap to avoid chemical “de-bonding” over time.
The Risk Landscape: Compounding Failures
Failures in window installation often follow a compounding path. A structural error (poor shimming) leads to a mechanical error (sash misalignment), which leads to a thermal error (gaps in weatherstripping). This “cascade” can eventually cause the IGU seal to fail.
A specific compounding risk is the “Sealant Dependency.” When an installer knows the flashing is imperfect, they often use excessive caulk to “hide” the flaw. This creates a “water trap.” If water gets behind that excessive caulk, it cannot evaporate, leading to a much faster rate of wood rot than if no caulk had been used at all.
Governance, Maintenance, and Adjustment Triggers
Even a perfect installation requires “governance”—a system of oversight over the building’s life.
-
Trigger 1: Difficulty in Locking. This is a sign of frame movement or house settling. It should trigger an immediate check of the frame shims.
-
Trigger 2: Condensation between Panes. This indicates a seal failure, often caused by the window sitting in a saturated frame (drainage mistake).
-
Trigger 3: Perimeter Cracking. Exterior caulk should be inspected every 24 months. If it pulls away from the siding, the “sacrificial” barrier is gone.
Measurement, Tracking, and Diagnostic Evaluation
How do we prove an installation is free of mistakes?
1. The Blower Door Test (Quantitative)
By depressurizing the house, an energy auditor can use a smoke pencil to see if air is entering around the window trim. This identifies “perimeter bypass” mistakes.
2. The “A-Tick” Water Test (Diagnostic)
Spraying the window with a calibrated water rack to simulate wind-driven rain. This identifies flashing errors before the interior drywall is installed.
3. Thermal Imaging (Leading Indicator)
Using an infrared camera during a cold snap. A “blue” halo around a new window indicates a failure to insulate the rough opening gap properly.
Common Misconceptions and Industry Corrections
-
Myth: “Expanding foam is a structural support.”
-
Correction: Foam is an insulator only. Windows must be mechanically fastened and shimmed. Foam cannot prevent a window from shifting or sagging.
-
Myth: “New windows don’t need storm windows.”
-
Correction: While true for thermal reasons, in high-wind zones, a “storm” layer or impact-rated glass protects the installation from the pressure cycles that cause seal failure.
-
Myth: “If it’s level, it’s right.”
-
Correction: A window can be perfectly level but “racked” (out of square). Diagonal measurements must be equal for the window to function mechanically.
Conclusion: The Synthesis of Integrity and Precision
Addressing common window installation mistakes requires a cultural shift within the construction trades, moving from “quick-fix” solutions to an adherence to building science. The window is the most complex component of the building envelope, acting as a valve for light, air, and heat. When we treat its installation as a secondary task, we invite the gradual destruction of the structural wall.
The definitive installation is one that respects the “physics of the hole.” By prioritizing drainage plane continuity, allowing for material movement, and ensuring a continuous thermal barrier, we protect not just the window, but the entire capital investment of the building. The ultimate success of a fenestration project is found in its silence—the absence of drafts, the absence of rot, and the absence of mechanical failure for decades to come.