How to Manage Lead Paint During Window Removal: 2026 Guide
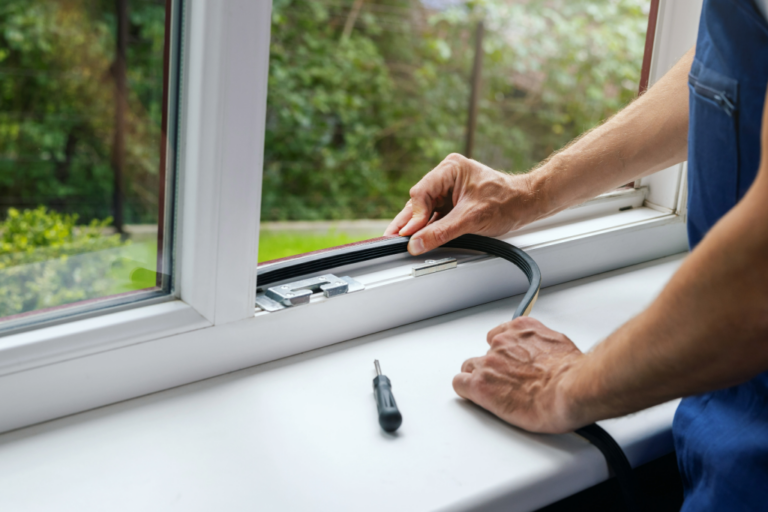
The intersection of historic preservation and environmental health is perhaps nowhere more fraught than in the removal of vintage fenestration. Windows are mechanical assemblies; unlike static walls, they are designed to slide, swing, and friction-fit against their frames. How to Manage Lead Paint During Window Removal. In homes built prior to 1978, this mechanical action frequently pulverized lead-based paint into microscopic dust long before a renovation ever began. However, the act of physical removal—prying sashes, shattering old glazing putty, and disturbing weights within hollow pockets—threatens to release a concentrated burst of neurotoxic particulates into the residential envelope.
To address this challenge, one must move beyond the casual use of a dust mask and a shop-vac. The management of lead-based paint during demolition is a high-stakes exercise in containment chemistry and particulate physics. Lead dust is exceptionally heavy and “sticky” at a molecular level; it does not behave like ordinary sawdust. Once liberated, it embeds itself into floorboards, HVAC ducting, and soft furnishings, creating a long-term exposure legacy that can persist for decades. Consequently, the modernization of an old home’s energy profile through window replacement can inadvertently become an environmental liability if the process is handled with technical negligence.
As we operate in 2026, the regulatory landscape—notably the EPA’s Renovation, Repair, and Painting (RRP) Rule—has become the baseline, but the “best” editorial and practical standard seeks a higher threshold: the total isolation of the work zone. Achieving this requires a systemic understanding of how to manage lead paint during window removal through specialized “wet-method” techniques and HEPA-filtered negative pressure environments. This article serves as the definitive technical reference for homeowners, contractors, and preservationists who refuse to compromise the biological health of a home’s inhabitants for the sake of its architectural upgrades.
Understanding “how to manage lead paint during window removal”
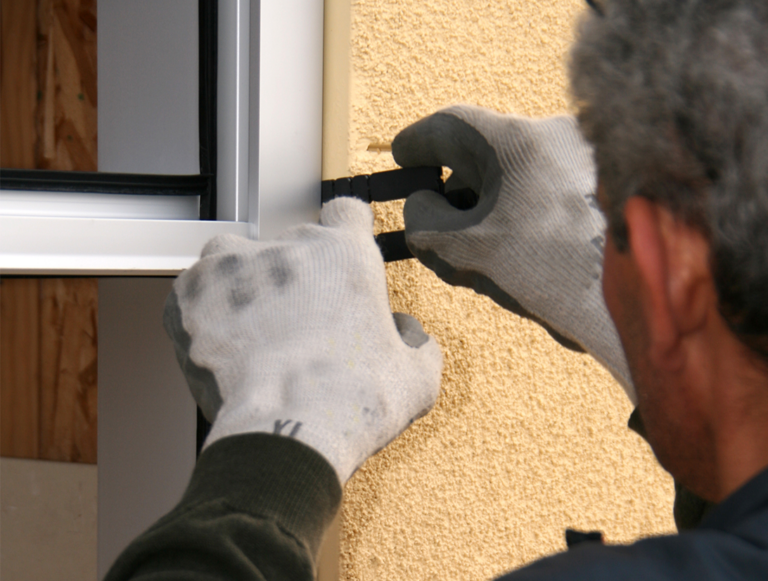
The process of how to manage lead paint during window removal is often fundamentally misunderstood as a cleaning task. In reality, it is a containment strategy. The “removal” is the easy part; the “management” involves the meticulous control of the environment before the first crowbar touches the trim. A multi-perspective view reveals that we are dealing with three distinct phases: the stabilization of existing paint, the surgical extraction of the window unit, and the decontamination of the rough opening.
Oversimplification is the primary driver of lead poisoning in residential renovations. Many assume that if they aren’t sanding the paint, they aren’t creating a hazard. This is a dangerous fallacy. The act of prying a window casing often breaks brittle paint layers into “micro-chips” and releases dust that has been trapped in weight pockets for 80 years. Therefore, a comprehensive plan treats every window as a potential “dust bomb” and utilizes plastic sheeting (6-mil poly) to create a mini-lab environment around each aperture.
Furthermore, the “management” aspect extends to the exterior of the home. Sound plans include ground containment to prevent lead particulates from leaching into the soil, where they can be tracked back into the house on shoes or by pets. This holistic approach recognizes that the window is not an isolated component but a gateway that connects the interior air quality to the exterior ecosystem.
Contextual Background: The Legacy of Lead in Fenestration
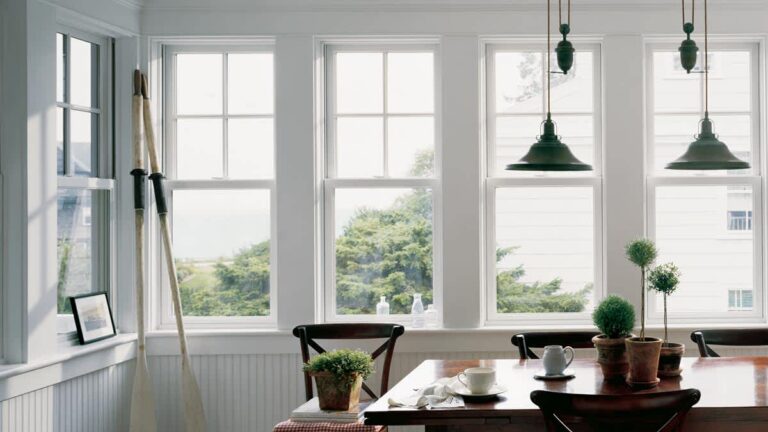
Lead was added to paint for centuries because it made the finish incredibly durable, moisture-resistant, and vibrant. In the context of windows, lead-based “white lead” was the industry standard because it could withstand the extreme UV exposure and moisture cycling that occurs on a window sill. Until the 1978 federal ban in the United States, nearly all high-quality residential paints contained significant lead concentrations.
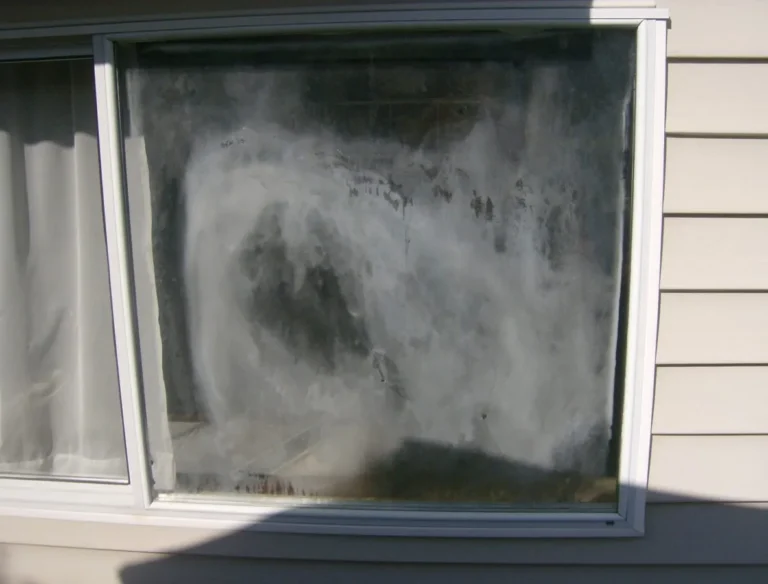
The specific danger of windows lies in the “friction surfaces.” When a double-hung window is raised or lowered, the sash rubs against the jamb. This grinding action creates a fine lead dust that accumulates in the window tracks and on the sills. Over decades, this dust becomes part of the “household grime.” During removal, these accumulated reservoirs of dust are disturbed, often in high volumes. In 2026, building science emphasizes that we are not just removing a window; we are decommissioning a localized hazardous waste site.
Conceptual Frameworks for Lead Mitigation
1. The “Wet Method” Framework
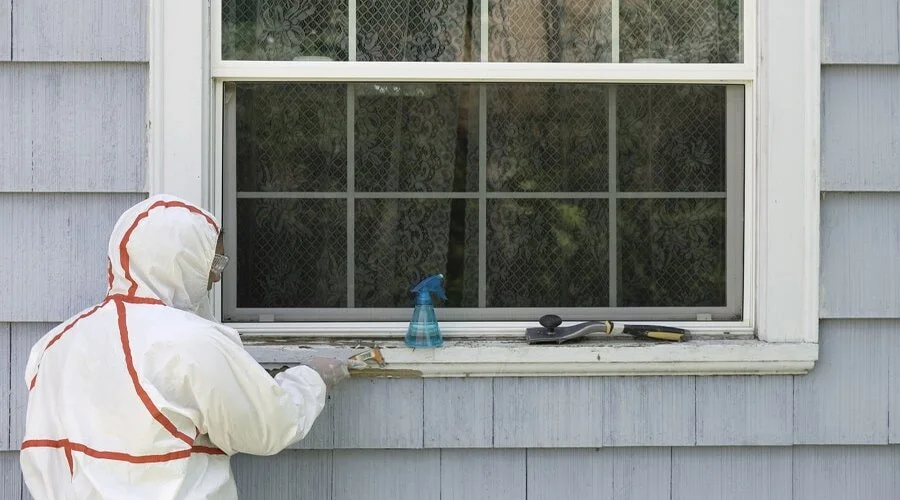
This model posits that water is the primary tool for lead control. By misting surfaces with a surfactant-infused water solution before and during removal, we increase the mass of the dust particles, causing them to fall immediately onto plastic sheeting rather than becoming airborne. This framework dictates that dry-scraping or dry-sanding lead paint is a non-negotiable failure of protocol.
2. The Negative Pressure Mental Model
Sound management assumes that containment will never be 100% airtight. To compensate, professionals use HEPA-filtered air scrubbers to create a lower air pressure inside the work zone than in the rest of the house. This ensures that any “leak” in the plastic sheeting results in clean air being sucked into the work area, rather than contaminated air blowing out.
3. The “Clean-to-Dirty” Workflow
This framework governs the movement of tools, debris, and personnel. It treats the work zone as a “hot zone” where everything is considered contaminated until it undergoes a multi-stage decontamination process (HEPA vacuuming followed by wet-wiping). This model prevents the “tracking” of lead dust into “clean zones” like kitchens or bedrooms.
Primary Categories of Containment and Removal
Strategies for managing lead vary based on the extent of the window replacement (e.g., “pocket” replacement vs. “full-frame” replacement).
The “Pocket” replacement is often chosen because it disturbs less of the original casing, thereby theoretically reducing lead exposure. However, if the “weight pockets” are not properly cleaned and sealed during this process, the new window will sit on a bed of old lead dust. Full-frame removal is more invasive but allows for a “clean slate” where all legacy dust can be removed from the structural opening.
Real-World Scenarios and Risk Modeling How to Manage Lead Paint During Window Removal
Scenario 1: The Pre-1920s Double-Hung
A home with original weighted windows and significantly “alligatoring” paint.
-
The Plan: Vertical containment (floor to ceiling) around each window. Use of a “shroud” on prying tools to catch chips.
-
The Nuance: The weight pockets are often filled with debris. These must be HEPA-vacuumed before the new window is shimmed.
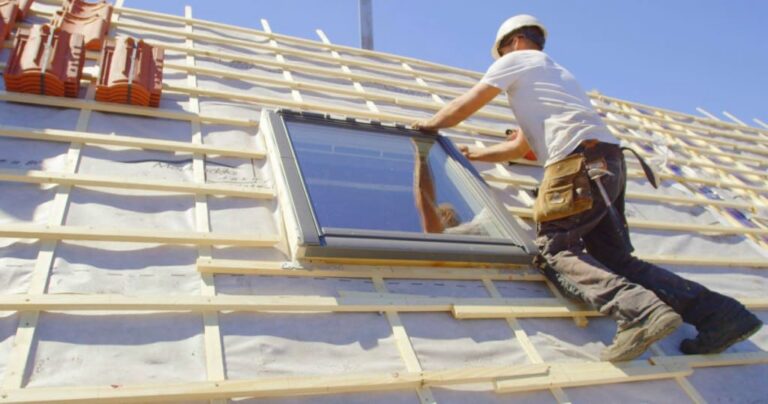
Scenario 2: The Exterior Scaffolding Removal
Windows being removed from the second floor of a historic Victorian.
-
The Plan: A “poly-trough” attached to the scaffolding to catch falling debris before it hits the ground.
-
Constraint: High winds can carry lead dust hundreds of feet. Work must be suspended if wind speeds exceed 15 mph.
Economics of Remediation: Costs and Compliance
The cost of lead-safe window removal is significantly higher than a “standard” installation due to the labor-intensive nature of containment and the cost of specialized equipment.
Cost Differentials (Estimated 2026)
Opportunity Cost: Failing to follow lead-safe protocols can lead to EPA fines (often exceeding $30,000 per violation) and, more importantly, the astronomical cost of “deleading” a home after a contaminated renovation, which can easily reach $50,000 for professional cleaning and soil replacement.
Tools, Strategies, and Support Systems
The successful execution of how to manage lead paint during window removal depends on a specific technical “kit.”
-
HEPA Vacuums: Not all “shop vacs” are equal. A true HEPA vacuum must be sealed so that 99.97% of particles at 0.3 microns are captured.
-
Surfactants (Lead-Specific Cleaners): Standard soap isn’t enough to break the bond of lead dust. Specialized cleaners (like TSP or lead-specific detergents) are required for the final wipe-down.
-
6-Mil Polyethylene Sheeting: Thinner plastic (like 1-mil painters’ drop cloths) will tear under the weight of window debris, rendering the containment useless.
-
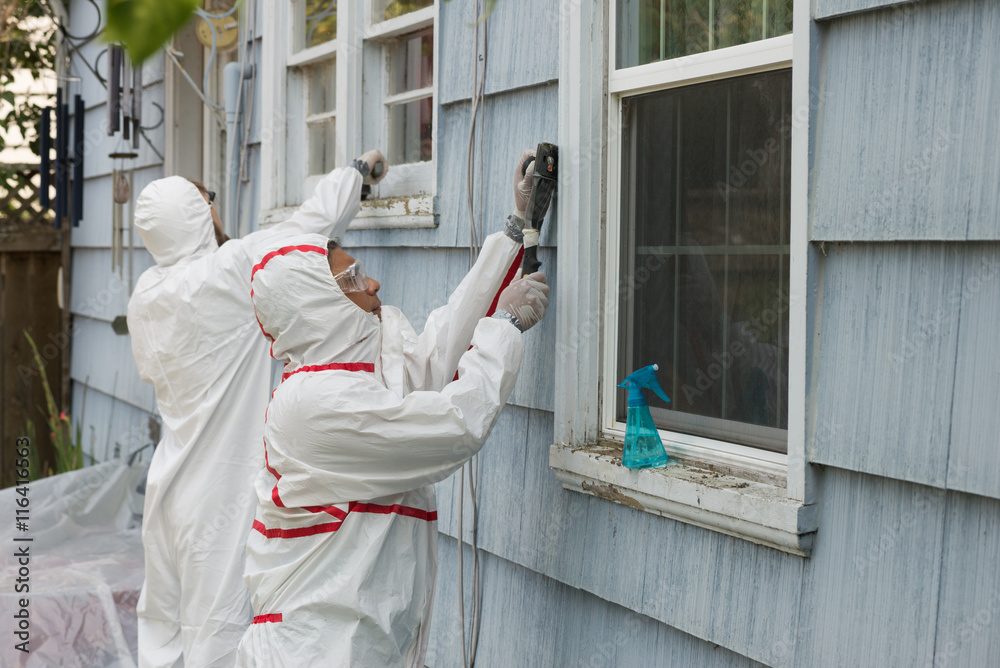
Respirators (N100 or P100): Standard surgical masks provide zero protection against lead dust. P100 cartridges are the industry requirement.
-
Duct Tape and Zip-Poles: For creating airtight “critical barriers” over HVAC vents and doorways.
-
Disposable Coveralls (Tyvek): To ensure that workers do not take lead dust home on their clothing.
-
Lead Test Kits (EPA-Recognized): Using sodium rhodizonate swabs to verify the presence of lead before the project begins.
Risk Landscape: Failure Modes in Abatement
Demolition is chaotic, and protocols often break down under the pressure of “getting the job done.”
-
The “Torn Poly” Failure: Moving a heavy window sash across the plastic sheeting can create tears. Any tear instantly compromises the containment.
-
The HVAC Bypass: Failing to seal the “return air” vents in the room. The HVAC system then sucks lead dust into the furnace and redistributes it to every room in the house.
-
Dry Sweeping: The most common and most dangerous error. Sweeping lead dust with a broom makes it airborne instantly.
-
The “Sticky Shoe” Effect: Workers walking in and out of the containment zone without removing shoe covers or using “tacky mats.”
Governance, Documentation, and Long-Term Adaptation
If a contractor is performing the work, the property owner must exercise “oversight governance.”
1. The Pre-Work Checklist
-
Is the furniture moved or covered in 6-mil poly?
-
Are the HVAC vents sealed with plastic and tape?
-
Has the contractor provided their EPA RRP certification?
2. The Visual Clearance Check
After the “final” cleaning, the sills and floors should be free of all visible dust and debris. If you can see “ghosting” or white dust, the area is still contaminated.
3. Record Keeping
Keep a “Lead Project Folder” containing the initial test results, photos of the containment, and the “Clearance Testing” reports. This is vital for future home sales, as lead disclosures are a legal requirement.
Measurement, Tracking, and Evaluation
How do you know the house is safe?
-
Quantitative Signal: Dust Wipe Sampling. A professional lead inspector wipes a measured area of the floor and sill with a specialized wet-wipe and sends it to a lab. The results must be below 10 micrograms per square foot () for floors.
-
Qualitative Signal: The White Glove Test. A non-scientific but useful check involves wiping a clean white cloth over the cleaned surfaces. Any grey or black residue indicates a failure of the decontamination process.
-
Leading Indicator: Negative Pressure Verification. Using a “smoke tube” to verify that air is being pulled into the work area from under the door.
Common Misconceptions and Industry Corrections
-
Myth: “Lead paint is only dangerous if you eat it.”
-
Correction: Lead dust (inhalation) is the primary pathway for adult and childhood poisoning during renovations.
-
-
Myth: “My house was built in 1980, so I’m safe.”
-
Correction: While the ban was 1978, many contractors used up their existing stock of lead paint into the early 80s. When in doubt, test.
-
-
Myth: “A standard dust mask is enough.”
-
Correction: Lead particles are so small they pass directly through standard paper masks. Only N100 or P100 respirators provide adequate filtration.
-
-
Myth: “Replacement windows ‘encapsulate’ the lead.”
-
Correction: Only if the old paint is completely covered and the friction surfaces are eliminated. If the new window rubs against old leaded trim, the hazard remains.
-
Ethical and Practical Considerations
There is an ethical dimension to window replacement in older neighborhoods. Lead dust released during an exterior removal can settle in a neighbor’s yard or a nearby playground. Responsible stewardship requires that we treat the dust we generate as our own “biological waste.”
Furthermore, the preservation of original windows through “Lead-Safe Restoration” (stripping sashes in a controlled shop environment) is often a more ethical and sustainable choice than “wholesale replacement,” which sends lead-coated timber to landfills.
Conclusion: Ethical Stewardship of the Built Environment
The methodology of how to manage lead paint during window removal is a testament to the fact that we do not live in a vacuum. Every renovation act has a biological consequence. By embracing the “Wet Method,” rigorous containment, and HEPA-filtered decontamination, we can modernize our homes without compromising the cognitive health of the next generation.
Ultimately, the successful management of lead is a matter of patience and technical integrity. It requires a shift from “demolition” to “surgical extraction.” When we treat the window as a complex environmental boundary, we ensure that our pursuit of energy efficiency is harmonized with our duty to provide a safe, non-toxic sanctuary for all.